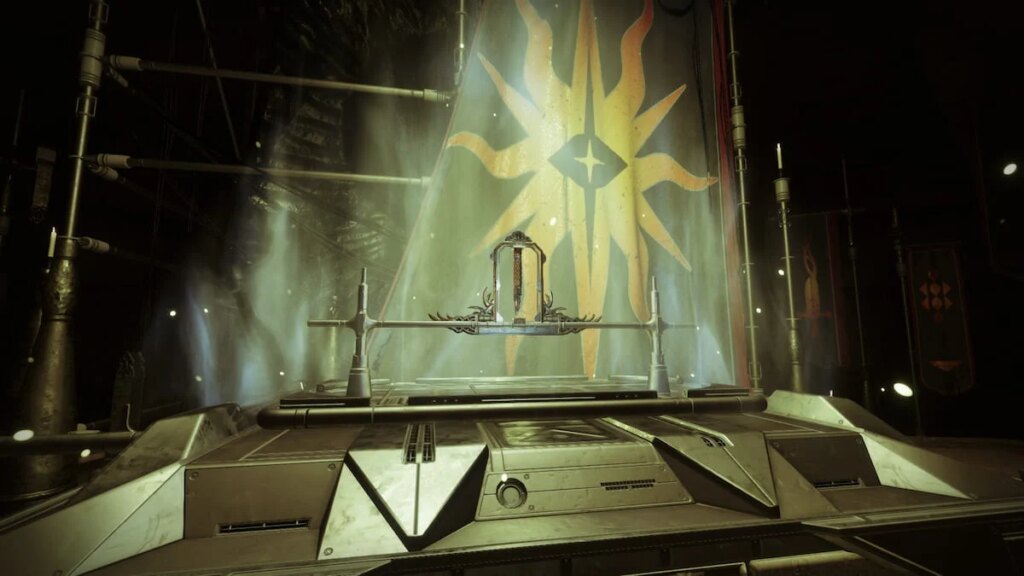
Time to Get Your Own Praxic Blade
The Renegades campaign in Destiny 2 introduces a thrilling and challenging Exotic mission known as Fire and Ice. This mission is a staple for any Guardian looking to add the formidable Praxic Blade to their arsenal. However, the journey is not without its hurdles, and the game doesn’t always hold your hand. If you find yourself stuck, fear not. Here’s a detailed walkthrough to help you navigate through the Fire and Ice Exotic mission.
Finding the Vault
The first step in your quest is to locate the vault. Begin by delving deeper into the area where you encounter enemies until you reach the Imperium compound. Clear all the foes inside, and you’ll find Imperium codes, which you’ll need to use on a marked terminal. Utilizing these codes will open the blast doors leading to the vault. Proceed down, clear out any remaining enemies, and leap into the Taken portal. This marks the beginning of your journey into the Ascendant Plane.
Navigating the Ascendant Plane
Once inside the Ascendant Plane, your primary objective is to grab the Darkness mote, which serves as a quest item. From there, you’ll need to climb inside the Pyramid structure in the middle of the area and jump down to continue the traversal section. This part of the mission is essentially a lengthy jumping puzzle, and it can be quite daunting, especially on your first attempt. Here’s a step-by-step guide to help you through it:
- Ice Canyon to Temple Structure: Traverse the ice canyon until you reach an open area with a temple-like structure.
- Left Tower and Moving Walls: Enter the tower on the left and climb up. Move alongside the temple wall, dodging moving walls and Taken blights. When it seems like you’ve reached the end, go a little further and turn left while crouching for safety.
- Ledges and Floating Rocks: Jump up to the ledge and then onto a floating rock. From there, jump back onto the temple’s wall and proceed one level above.
- Light and Hallways: Right before the middle, where the light emanates, turn right into the hole in the wall. At the end of the hallway, turn right again (avoid the disappearing floor).
- Climbing and Platforms: Use the blocks that pop out of the walls to climb above the entrance. Continue until you reach another hallway, and jump down at the end. In the room with the disappearing floors, keep right initially, then turn left and run until the end.
- Platforms and Holes: Climb up the ledges and use platforms and rails under the ceiling to backtrack. On the right side, you’ll find a hole in the wall with bright light—this is your next destination.
- Re-entering the Tower: In the section with disappearing platforms, move forward and then to the left. Follow the Taken pushing blights to navigate through the rocks and re-enter the tower at a higher level.
- Final Climb: Climb up the tower. On the second-to-last platform, go through the window and use the platforms to reach the temple’s entrance.
Navigating the Ascendant Plane can be confusing, but always head toward movement, whether it’s enemies, Taken blights, or red lights. The frequent checkpoints will ensure you don’t have to start from scratch if you die.
Balancing the Scales
After interacting with the Pyramid node and entering the Taken portal, you’ll face the Balance the Scales combat encounter. This section might seem complex, but it’s manageable once you understand the mechanics:
- Killing a Cleaved Taken Centurion grants Taken Energy Cleaved buff.
- Killing a Cleaved Imperium Centurion grants Barant Energy Cleaved buff.
- Killing two of the same Cleaved enemies back to back creates Paired Energy (Light balls).
- Killing different Cleaved enemies back to back creates Opposite Energy (Dark balls).
There are four blights around the arena: two Light and two Dark. Your task is to throw the Energy at the matching blight, but only two at a time per blight of the same color. Throwing more will cause the scales to go out of balance and reset the blights. Each blight requires four charges. Once a blight is fully charged and becomes a full ball, interact with the Pyramid structure in the middle, grab the Balanced Octant, and exit the area using the Taken portal.
Defeating the Disciple of Harrow
After flipping the Ascendant Plane and re-entering it back at the vault door, you’re faced with your final challenge: defeating the Disciple of Harrow. Engage the boss until you deplete the first health bar, which will cause the boss to shroud himself in Darkness, making him harder to spot amidst the chaos.
The mechanics here are similar to the previous encounter, but with a twist. You only have Dark blights, and in the middle, there are disappearing platforms with Pyramid nodes. The left node summons Taken enemies, while the right node summons Imperium enemies (spawning one despawns the other). Your goal is to throw the Energy at the blights to lower the boss’s shield. Once the shield is down, you can deal damage. Continue this process until the boss is defeated.
Collecting Your Reward
Upon defeating the Disciple of Harrow, head to the vault room to claim your well-earned reward—the Praxic Blade. Alongside this prestigious weapon, you’ll also find other loot, including armor and blasters. This concludes the Fire and Ice Exotic mission, a challenging yet rewarding journey that will undoubtedly enhance your Guardian’s arsenal.
Conclusion
The Fire and Ice Exotic mission in Destiny 2 is a testament to the game’s intricate and rewarding gameplay. While it may seem daunting at first, with patience and practice, you’ll find yourself mastering each section and ultimately claiming the Praxic Blade. So gear up, Guardian, and prepare to embark on this epic adventure!


