Introduction to the Quest: Mapping the Living Lands in Dawnshore
When you step into Claviger’s Landing in Dawnshore, the vast and mysterious world of Avowed unfolds before you. Your primary mission is to track down the missing Aedyran ambassador, but amidst this critical task, you encounter Sanza, a local cartographer with a personal request. Sanza reveals that his trusted assistant, Geirmund, has gone missing while exploring the uncharted territories of the Living Lands. These regions are not only expansive but also fraught with peril, making it a daunting task to find Geirmund. However, completing this side quest, "Mapping the Living Lands: Dawnshore," can provide valuable insights and rewards. This guide will walk you through the steps to find Geirmund and complete the quest, ensuring you are well-prepared for the challenges ahead.
Accepting the Side Quest
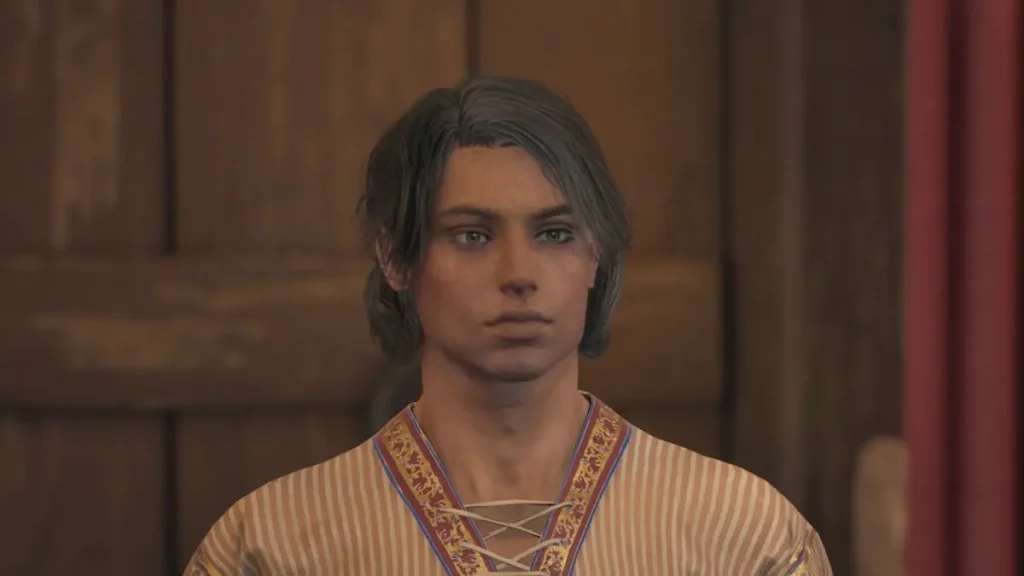
To begin the quest, seek out Sanza, who can typically be found to the north of Claviger’s Landing. Sanza is a friendly and enthusiastic cartographer, eager to share his knowledge and ask for your assistance. He explains that Geirmund, his assistant, was crucial in creating a detailed map of the Living Lands. Without Geirmund, Sanza’s work is severely hindered. While the main quest to rescue the Aedyran ambassador is your immediate priority, Sanza’s request is one you should not forget. He warns that the area you need to search is dangerous, and you should expect to face numerous threats. Accepting the quest will add it to your journal, and you can return to it later when you have the opportunity and the necessary resources.
Timing and Preparation
It’s important to note that you cannot immediately embark on this quest. The area where Geirmund went missing, Usher’s Hand, is located in the Southern Embrace region to the east of Paradis. This location is inaccessible until you complete the main quest involving the ambassador. Once you rescue the ambassador from the Overgrown Frontier and gain access to Paradis, the High Market district will open up to you. This is where you will re-encounter Sanza and learn more about Geirmund’s fate. Before heading to Usher’s Hand, make sure your gear is up to the challenge. A tier two weapon, preferably of Fine quality, is recommended. If you haven’t found one yet, consider upgrading your current weapons at your camp to ensure you are well-equipped.
Navigating Usher’s Hand
Once you have the necessary equipment, head east from Paradis to the Southern Embrace region. Usher’s Hand is a series of ancient ruins that Geirmund was investigating. The area is teeming with skeleton enemies, some of which are tier one, while others, such as archers and monks, are rank two. The first wave of foes includes a tier two archer, who should be your primary target due to their ranged attacks. Use your Fine quality weapon to dispatch the skeletons efficiently. Be cautious, as the terrain is rocky and can provide the skeletons with advantageous positions. After defeating the enemies, make your way to the northern part of the ruins by climbing the rocks. There, you will find Geirmund’s body, a grim reminder of the dangers that lurk in the Living Lands.
Finding Geirmund’s Map
Upon reaching the northern region of the ruins, you will see Geirmund’s body. Despite the tragic outcome, you can still complete the quest by finding his map, which is lying nearby. The map is a crucial piece of information that Sanza needs to continue his work. Carefully approach the area where Geirmund’s body lies, and search the ground to locate the map. Take a moment to reflect on the loss, as it underscores the risks involved in exploring these unknown territories. Once you have the map, you can return to Sanza, who is waiting in the High Market district of Paradis.
Returning to Sanza
After you have the map, navigate back to Paradis and head to the High Market district. This area is located to the north of the city and is known for its more upscale shops and better-quality items. Sanza’s map shop is situated to the right of the High Market entrance. When you meet him, share the news about Geirmund’s fate. Although Sanza is saddened by the loss of his assistant, he is also grateful for the map you’ve retrieved. Hand over the map, and Sanza will reward you, bringing the "Mapping the Living Lands: Dawnshore" quest to a close. This interaction not only provides closure to Sanza’s personal story but also grants you valuable resources and experience points.
Conclusion and Reflection
Completing the "Mapping the Living Lands: Dawnshore" quest in Avowed is a significant achievement that highlights the importance of exploration and the risks it entails. While you may start the game focused on the main objectives, taking on side quests like Sanza’s can offer deeper insights into the world and its characters. The quest not only adds to the lore of the game but also equips you with better resources and a sense of accomplishment. Geirmund’s map is a tribute to his courage and dedication, and by completing this quest, you honor his memory and contribute to the greater understanding of the Living Lands. As you continue your journey, remember that every side quest has a story worth uncovering, and sometimes, these stories can be as rewarding as the main narrative.

