Monster Hunter Wilds: A Promising Start, but Challenges Abound
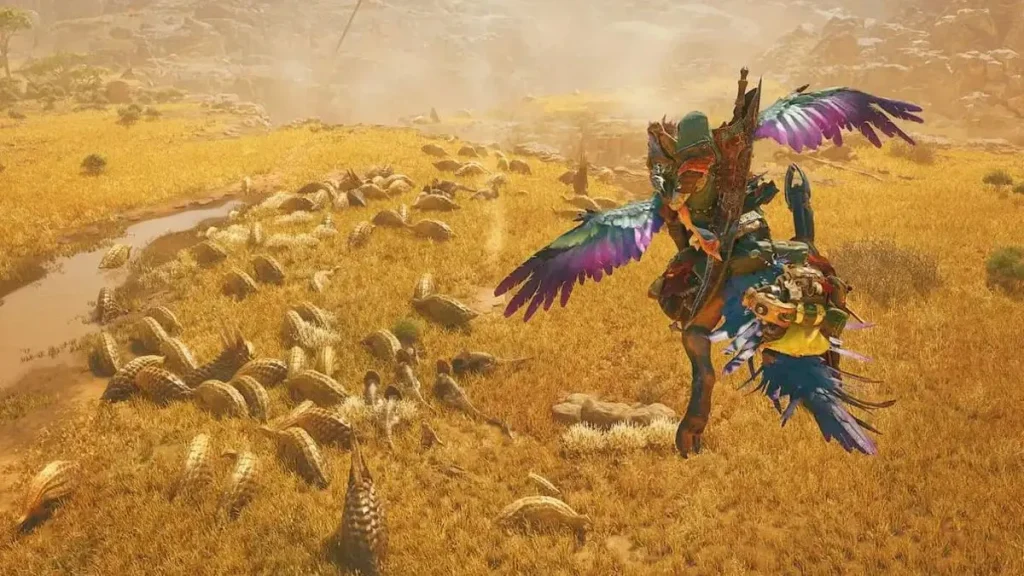
Monster Hunter Wilds has made a significant impact on the gaming community since its launch on February 28, boasting over a million players daily on Steam. This impressive player base is a testament to the game’s popularity and the excitement it has generated. However, the journey has not been without its hiccups. Many players have encountered various issues, ranging from bugs in the multiplayer mode to glaring performance problems. One of the most common complaints is the missing textures at certain locations, which can significantly impact the game experience. If you find yourself in this predicament, fear not. Here are some possible fixes to help you regain the visual splendor of Monster Hunter Wilds.
Running the Game as Administrator and Disabling Compatibility Mode
One of the initial steps you can take to address missing textures is to run the game as an administrator and disable the compatibility mode. To do this, navigate to the game’s folder, usually located at C:SteamLibrarysteamappscommonMonsterHunterWilds. Right-click on the MonsterHunterWilds application, and if compatibility mode is enabled, uncheck it. Then, check the box for "Run this program as an administrator." Apply the changes and restart your system before launching the game. The compatibility mode is useful for fixing crashes while loading shaders, but once you reach the title screen, you can turn it off to ensure the game runs smoothly. This simple adjustment can often resolve texture issues, making your hunting experience more immersive and enjoyable.
Deleting the Shader Cache
If the initial steps don’t resolve the texture issues, you might need to delete the shader cache. This file is located in the same game folder and is named shader.cache2. Deleting this file will force the game to recompile your shaders, which can take around 10 minutes or more, depending on your system’s configuration. To delete the shader cache, simply navigate to the game’s folder, locate the shader.cache2 file, and delete it. Once done, launch the game and let it recompile the shaders. This process can be a bit time-consuming but is often effective in restoring textures and enhancing the game’s visual fidelity.
Moving Game Files to the Fastest Drive
While the chances of a slow SSD affecting your game’s textures are slim, some players have found that moving their game files to a faster drive can resolve the issue. If you haven’t installed Monster Hunter Wilds on an NVMe drive, consider doing so. You can create a new Steam library on your NVMe drive and then move the game files through Steam’s Storage Settings. This step involves a bit of technical know-how, but the potential improvement in texture loading and overall performance is well worth the effort. By ensuring that your game files are on the fastest drive available, you can minimize the chances of texture-related problems and enjoy smoother gameplay.
Swapping Your DLSS Settings
Another solution that has worked for some players is swapping their DLSS settings. DLSS, or Deep Learning Super Sampling, is a technology by NVIDIA that enhances the game’s resolution and performance. However, certain DLSS versions can sometimes cause issues with textures. To swap your DLSS settings, you can use a tool called DLSS Swapper. Here’s how to do it:
- Download DLSS Swapper: You can download the application from its official GitHub page. Click on the "Assets" section to find the executable file.
- Ignore Security Warnings: When you install the application, Windows Defender or your antivirus software might flag it as a potential threat. Ignore the warning and proceed to install by clicking "Run Anyway." DLSS Swapper is a safe application and is widely used by the gaming community.
- Launch DLSS Swapper: Once installed, open the DLSS Swapper application and select Monster Hunter Wilds from the list of games.
- Swap DLSS Version: In the DLSS drop-down menu, select version 3.1.1 (v2) and confirm by clicking "Swap." This change can sometimes resolve texture issues and improve the game’s performance.
Quest-Specific Texture Disappearances
If you find that textures only disappear during specific quests, you might be dealing with an issue that is map-specific. Unfortunately, there is no immediate fix for this, and you will have to wait for the developers to release a hotfix. This can be frustrating, but it’s a common problem with big game releases, and developers are typically swift in addressing such issues with updates. In the meantime, you can contact the support team for your platform to raise a ticket. While they may not be able to provide an immediate solution, they can offer additional guidance and ensure that your issue is logged and addressed in future updates.
Staying Patient and Supporting the Community
The launch of a highly anticipated game like Monster Hunter Wilds is often accompanied by a flood of issues, as developers scramble to patch bugs and optimize performance for the diverse range of player systems. It’s important to stay patient and support the community. Many players are sharing their experiences and solutions on forums and social media, which can be a valuable resource. Additionally, the game’s developers are actively working on fixes and updates to improve the experience. By staying informed and participating in community discussions, you can ensure that you are well-equipped to tackle any issues that arise, and you can also contribute to the collective effort to make Monster Hunter Wilds a smoother and more enjoyable game for everyone.


